Embarking on the journey of gardening from seed to harvest is an immensely rewarding experience. Whether you’re a novice gardener or a seasoned green thumb, successful seed starting and transplanting are essential steps in the gardening process. In this blog post, we’ll delve into a variety of tips and techniques to help you master the art of seed starting and transplanting, ensuring healthy seedlings and thriving plants in your garden.
Start with Quality Seeds
– Choose high-quality seeds from reputable seed suppliers or save seeds from healthy, disease-free plants in your garden.
– Opt for organic and heirloom varieties whenever possible to support biodiversity and preserve traditional plant varieties.
Use the Right Growing Medium
– Select a well-draining, sterile growing medium specifically formulated for seed starting, such as seed starting mix or potting soil.
– Avoid using garden soil, which may contain pathogens and weed seeds that can hinder seed germination and seedling growth.
Provide Adequate Light
– Place seed trays or containers in a bright location with plenty of natural light, such as a south-facing window or under grow lights.
– Aim for 12-16 hours of light per day to promote healthy seedling growth and prevent leggy or weak plants.
Maintain Optimal Temperature and Humidity
– Keep seed trays or containers in a warm, consistent environment with temperatures between 65-75°F (18-24°C) for optimal germination.
– Use a seedling heat mat or heating pad to provide bottom heat and maintain consistent soil temperature, especially for heat-loving crops like tomatoes and peppers.
Water Wisely
– Keep the growing medium consistently moist but not waterlogged to prevent seed rot and damping off disease.
– Water seedlings from the bottom by placing trays in a shallow tray of water or use a gentle misting nozzle to avoid disturbing delicate seedlings.
Thin Seedlings as Needed
– Once seedlings have emerged and developed their first true leaves, thin them to ensure adequate spacing and prevent overcrowding.
– Remove weaker or overcrowded seedlings, leaving the strongest and healthiest plants to thrive.
Harden Off Seedlings
– Gradually acclimate seedlings to outdoor conditions by exposing them to increasing periods of sunlight, wind, and temperature fluctuations.
– Start hardening off seedlings 1-2 weeks before transplanting by placing them outdoors in a sheltered location for a few hours each day, gradually increasing exposure over time.
Transplant with Care
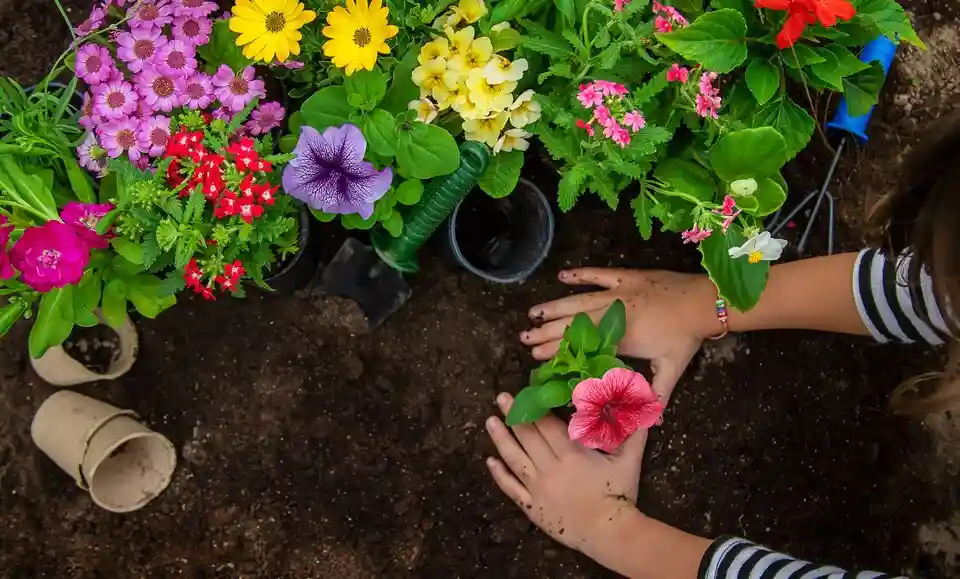
– Transplant seedlings into the garden bed or larger containers once they have developed sturdy stems and several sets of true leaves.
– Handle seedlings carefully by holding them by their leaves rather than their delicate stems to avoid damaging the plant.
Amend Soil and Provide Nutrients
– Prepare garden beds by amending the soil with organic matter such as compost or aged manure to improve soil structure and fertility.
– Incorporate a balanced organic fertilizer into the soil or use a diluted liquid fertilizer to provide essential nutrients for seedling growth.
Water Transplants Thoroughly
– After transplanting seedlings, water them thoroughly to settle the soil around the roots and provide essential hydration.
– Water newly transplanted seedlings regularly, keeping the soil consistently moist but not waterlogged until they establish roots and begin actively growing.
Conclusion
Mastering the art of seed starting and transplanting is essential for successful gardening and bountiful harvests. By starting with quality seeds, using the right growing medium, providing adequate light, maintaining optimal temperature and humidity, watering wisely, thinning seedlings as needed, hardening off seedlings, transplanting with care, amending soil and providing nutrients, and watering transplants thoroughly, you can set your garden up for success from the very beginning. With patience, attention to detail, and a little bit of know-how, you’ll be well on your way to nurturing healthy seedlings and thriving plants in your garden.

